Looking to save on your energy bills while reducing your carbon footprint?
Installing solar panels is one of the most effective ways to harness renewable energy.
In this guide, we’ll take you through the process of installing solar panels for your home in Kenya, from assessing your energy needs to selecting the best solar inverter and batteries.
Whether you’re planning a small residential setup or a larger installation for commercial use, this step-by-step guide has you covered.
Table of Contents
Introduction
Are you thinking about switching to solar energy for your home?
With rising electricity costs and increasing concerns about the environment, more homeowners are turning to solar power as a reliable, cost-effective, and eco-friendly energy solution.
Kenya, with its abundant sunshine, is particularly well-suited for solar energy.
From assessing your energy needs to selecting the right products and professional installation, we’ll cover everything you need to know.
Whether you’re a complete beginner or have some knowledge of solar power, this guide will provide valuable insights into making the switch.
Step-by-Step Guide to Installing Solar Panels
Step 1: Assess Your Energy Needs
Understanding your household’s energy consumption is the first and most crucial step before embarking on a solar panel installation.
Why? Because the size of the solar system you need depends on how much energy your household uses daily.
Calculating Energy Usage:
Start by reviewing your monthly electricity bills to find out your average kilowatt-hour (kWh) consumption.
For example, if your monthly energy consumption is 300 kWh, you’ll need a system that can generate approximately 10 kWh per day, given Kenya’s sunny conditions.
This gives you a baseline for determining how many solar panels you’ll need.
Choosing the Right Solar Panel Capacity:
Solar panel capacity is measured in watts, and each panel generates a specific amount of power based on its efficiency and size.
For a small home, you might consider a 1.5 kW system, while a medium-sized home could require a 3kW to 5kW system.
Step 2: Choose the Type of Solar Panels
Solar panels come in different types, and choosing the right one is essential for optimizing performance, lifespan, and cost-effectiveness.
Monocrystalline vs Polycrystalline Panels:
Monocrystalline panels are highly efficient and long-lasting but are more expensive than their polycrystalline counterparts.
If space is limited or efficiency is a priority, monocrystalline panels are ideal.
On the other hand, polycrystalline panels are more affordable but slightly less efficient.
They may be suitable for homes with larger roof areas where space isn’t an issue.
Thin-film Solar Panels:
Thin-film solar panels are less efficient but are more flexible and lightweight.
They can be installed on roofs with unusual shapes or structures that can’t support heavier systems.
However, thin-film panels tend to degrade faster than crystalline panels, which means they may not be the best choice for long-term use.
Step 3: Determine Solar Inverter Requirements
A solar inverter is a key component in your solar system, converting direct current (DC) electricity produced by your panels into alternating current (AC) electricity, which is used by most household appliances.
Importance of a Solar Inverter:
Without a quality solar inverter, your solar panels won’t be able to supply usable electricity to your home.
It’s essential to choose the right type and size of the inverter based on your system’s power output.
Types of Solar Inverters:
- Grid-Tied Inverters: Perfect for homes connected to the local grid, allowing you to feed excess energy back to the utility company.
- Off-Grid Inverters: Suitable for remote homes not connected to the grid, but you’ll need a battery storage system to store excess power.
- Hybrid Inverters: Offer the best of both worlds, allowing you to remain connected to the grid while also storing energy in batteries for backup.
Step 4: Plan the Installation Location
Where and how you install your solar panels is critical to ensuring maximum energy generation.
Roof Orientation and Tilt:
In Kenya, solar panels should ideally face north to capture the most sunlight throughout the day.
The tilt angle is also important; for maximum efficiency, the angle should be between 10° and 15°.
This orientation allows the panels to absorb sunlight more effectively.
Ground-Mounted vs Roof-Mounted Systems:
If your roof isn’t large enough or doesn’t get sufficient sunlight, you can consider a ground-mounted system.
Ground-mounted panels are easier to access for maintenance and cleaning but require more space and may incur additional installation costs.
Step 5: Estimate Costs and Budget
One of the most common questions homeowners ask is: How much does it cost to install solar panels in Kenya? The answer depends on several factors, including the type of panels, the size of the system, and whether or not you need battery storage.
Solar Inverter Price in Kenya:
Solar inverters range from KSh 15,000 for smaller residential systems to KSh 150,000 or more for larger, high-efficiency inverters.
Solar Panel Price Ranges:
The price of solar panels varies based on efficiency and manufacturer.
For instance, a typical solar panel in Kenya may cost between KSh 20,000 and KSh 100,000. Monocrystalline panels are more expensive but offer better efficiency.
Solar Installation Costs:
Installation costs can range from KSh 100,000 for smaller systems to over KSh 1.5 million for larger, more complex installations.
The total cost will depend on labor fees, system size, and whether you need to reinforce your roof or add additional equipment like batteries or inverters.
Step 6: Select a Trusted Solar Provider
Choosing a reliable solar installer is critical for the success of your solar project.
A professional will not only ensure that your panels are correctly installed but will also help you navigate the permitting process and system maintenance.
The Importance of Working with a Professional Installer:
Installing solar panels is not a DIY project.
Hiring a certified installer ensures that your system complies with local regulations and is safely connected to your home’s electrical system.
Why Choose Solarman for Solar Installation?
Solarman offers a full range of services, from consultation and product selection to installation and maintenance.
We use only the highest-quality products, ensuring that your solar system will last for years to come.
With our team of certified professionals, you can be confident that your solar installation will be seamless and efficient.
Step 7: Install the Mounting System
The first part of the physical installation involves securing the mounting system that will hold your solar panels in place.
Roof Mounting vs Ground Mounting Systems:
If you’re installing roof-mounted panels, your installer will ensure the system is securely attached to the roof without causing damage.
For ground-mounted systems, the process involves securing metal frames in your yard that will support the panels.
Step 8: Install the Solar Panels
Once the mounting system is in place, the solar panels are ready to be installed.
Positioning and Wiring:
The panels must be correctly positioned to capture the maximum amount of sunlight.
After positioning, the installer will connect the panels to the inverter via electrical wiring.
Step 9: Connect the Solar Inverter
Your installer will connect the solar panels to the solar inverter to begin the conversion of DC to AC power.
Inverter Connection and Functionality:
Once connected, the inverter should start converting the solar energy into electricity for your home.
A quality inverter ensures that the maximum energy produced by the panels is converted into usable power.
Step 10: Electrical Wiring and Testing
The final wiring connections link the solar inverter to your home’s electrical panel.
Ensuring Proper Connections:
Your installer will ensure that the wiring is safely connected and complies with national electrical standards.
They will also connect the system to the local grid if you’re using a grid-tied or hybrid system.
System Testing and Safety Checks:
Before the system is activated, the installer will perform a series of safety checks to ensure everything is working correctly.
This includes testing the inverter, wiring, and system output.
Step 11: Monitor the System’s Performance
Once your solar system is up and running, you can monitor its performance to ensure it’s generating the expected amount of electricity.
How to Track Solar Output:
Most solar inverters come with a monitoring system that allows you to track how much energy your panels are producing.
You can access this data via a smartphone app or computer dashboard.
System Maintenance and Troubleshooting:
Although solar systems are low-maintenance, it’s important to clean your panels regularly to remove dust and debris.
If you notice a drop in performance, you may need to call your installer for troubleshooting.
Benefits of Installing Solar Panels in Kenya
Cost Savings on Energy Bills
One of the biggest benefits of installing solar panels is the immediate reduction in your electricity bills.
Solar power allows you to generate your own electricity, reducing or even eliminating your reliance on the national grid.
Environmental Impact
Solar energy is a renewable resource, meaning it doesn’t deplete over time.
By installing solar panels, you’re reducing your carbon footprint and contributing to a greener future.
Solar Battery Backup Options for Energy Storage
In areas with frequent power outages, adding a solar battery to your system ensures you have backup power when the grid goes down.
Solar batteries store excess energy generated by your panels, so you can use it later when needed.
Factors Influencing Solar Installation Costs
Type and Quality of Solar Panels
The higher the efficiency and quality of the panels, the more expensive they tend to be.
However, they also generate more electricity and last longer, making them a worthwhile investment.
System Size
The larger the solar system, the higher the cost.
However, larger systems often lead to more significant savings in the long term by reducing your dependency on grid power.
Installation Complexity
The complexity of your installation affects the overall cost.
If your roof needs structural reinforcement or if you require additional equipment like battery storage, this can drive up costs.
Conclusion
Switching to solar energy is one of the most effective ways to reduce your energy bills, enhance your home’s sustainability, and contribute to a cleaner environment.
The process of installing solar panels may seem daunting, but with careful planning and the help of professionals, it’s entirely manageable.
At Solarman, we are committed to helping you transition smoothly to solar power, offering the best products, services, and customer support available.
From choosing the right solar panels to ensuring professional installation, we’re with you every step of the way.
Ready to make the switch? Contact us today to start your solar journey!
- Sale!
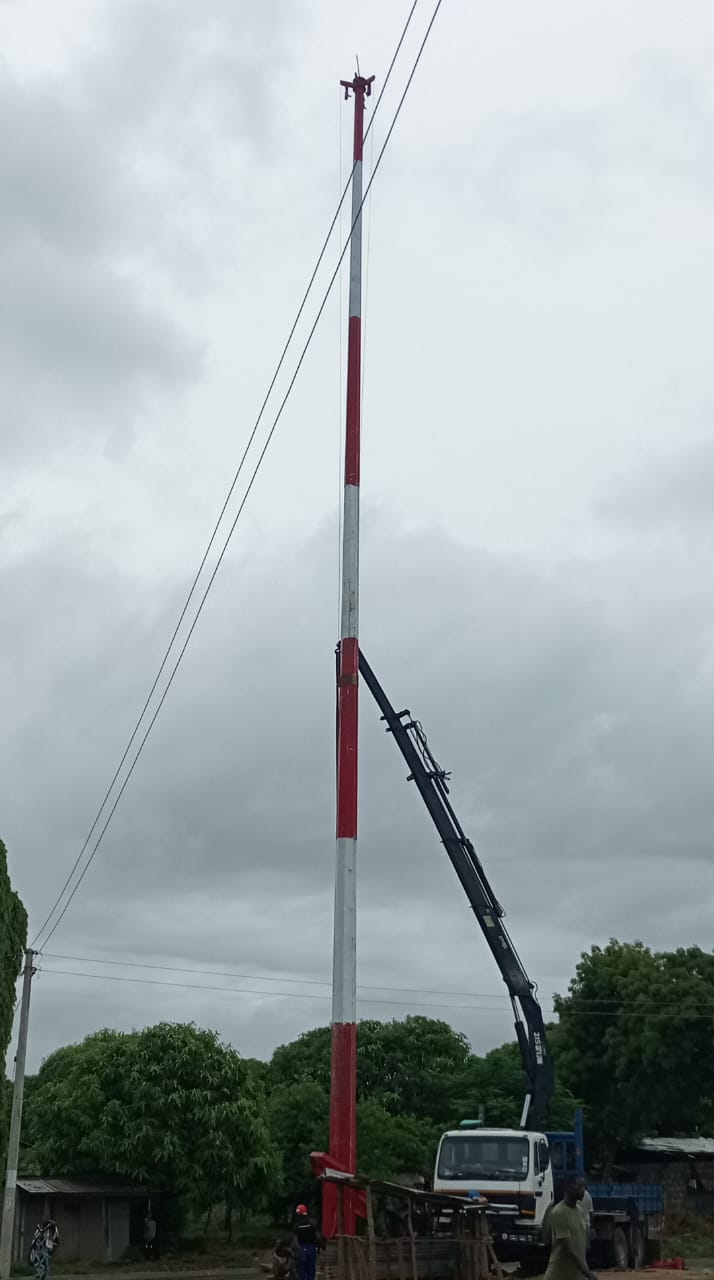
 High Mast Flood Light Pole
High Mast Poles
KSh 550,000Original price was: KSh 550,000.KSh 350,000Current price is: KSh 350,000. Add to cart - Sale!
 Uncategorized
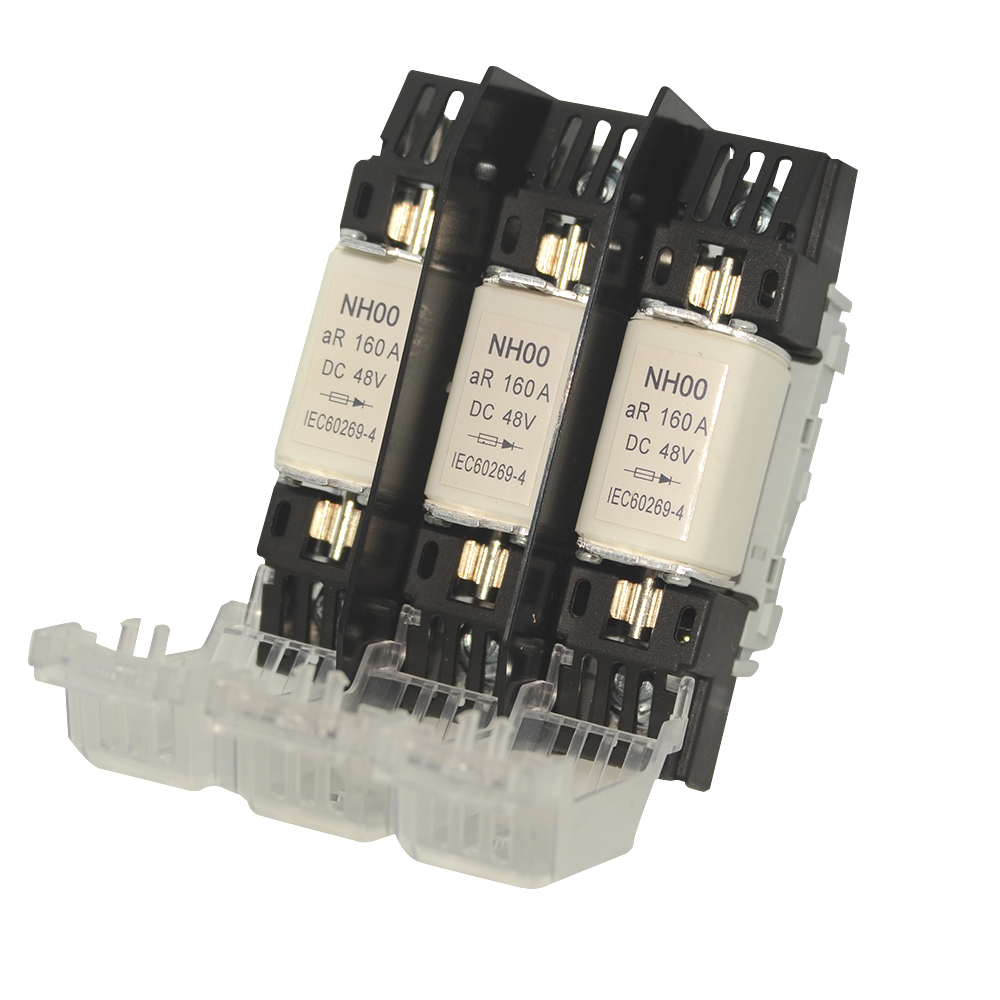
Battery Fuse NH00 – 100A, 1000V DC
KSh 6,500Original price was: KSh 6,500.KSh 4,500Current price is: KSh 4,500. Add to cart - Sale!
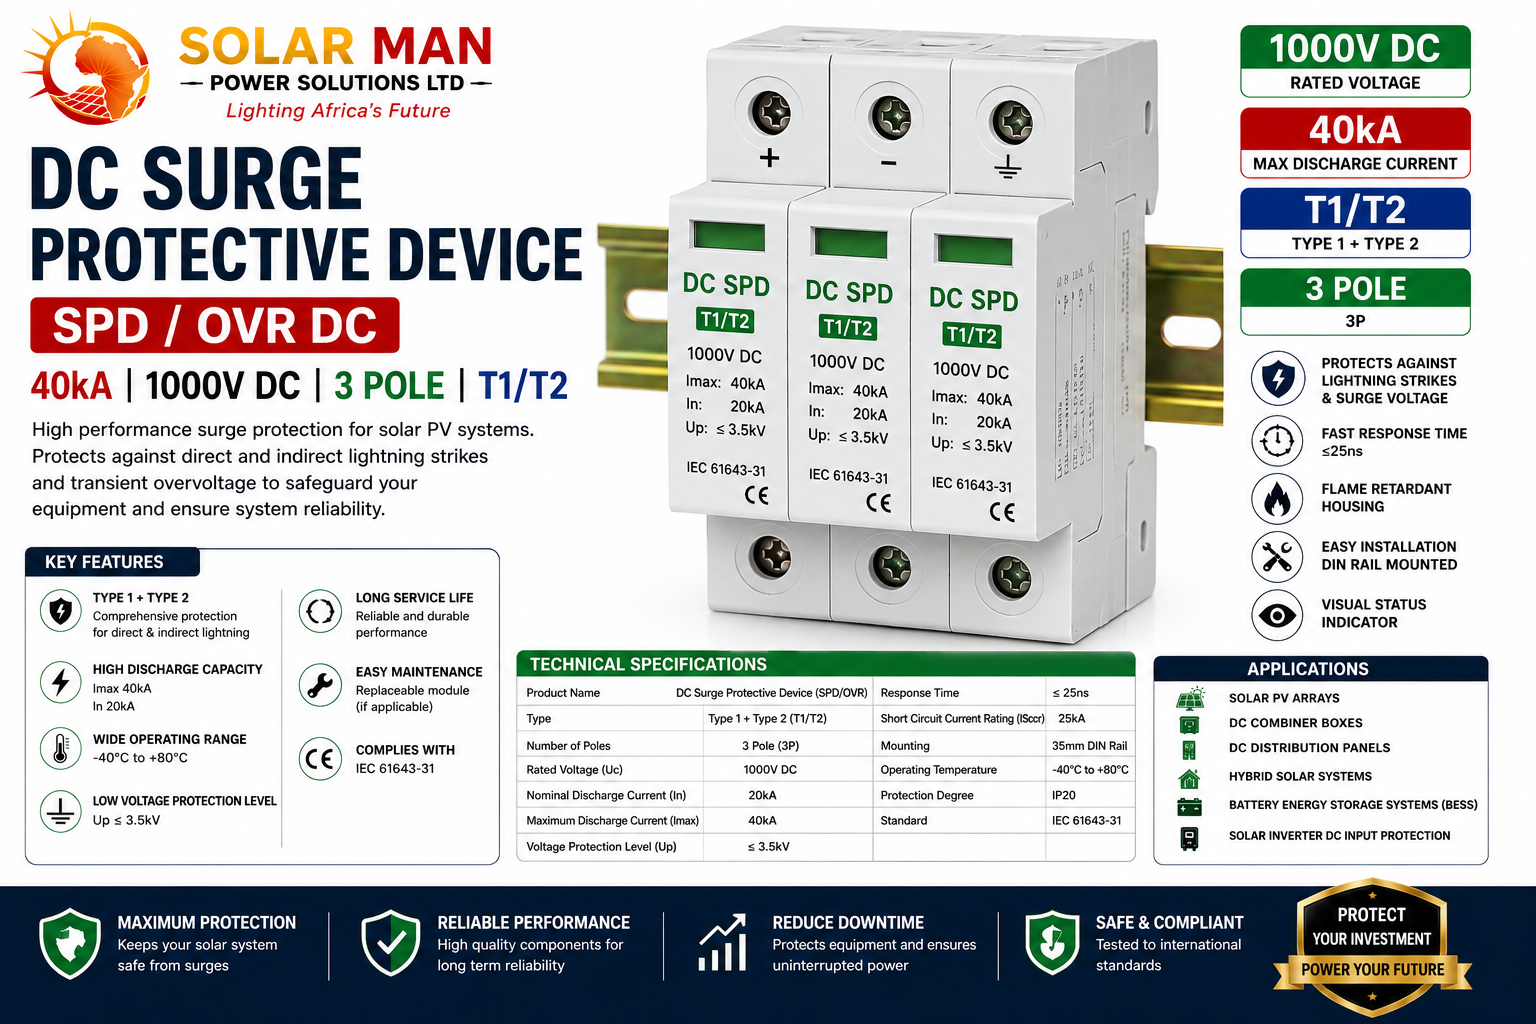
 Solar Accessories
DC Surge Protection Device (SPD/OVR) – 40kA, 1000V DC, 3 Pole (T1/T2)
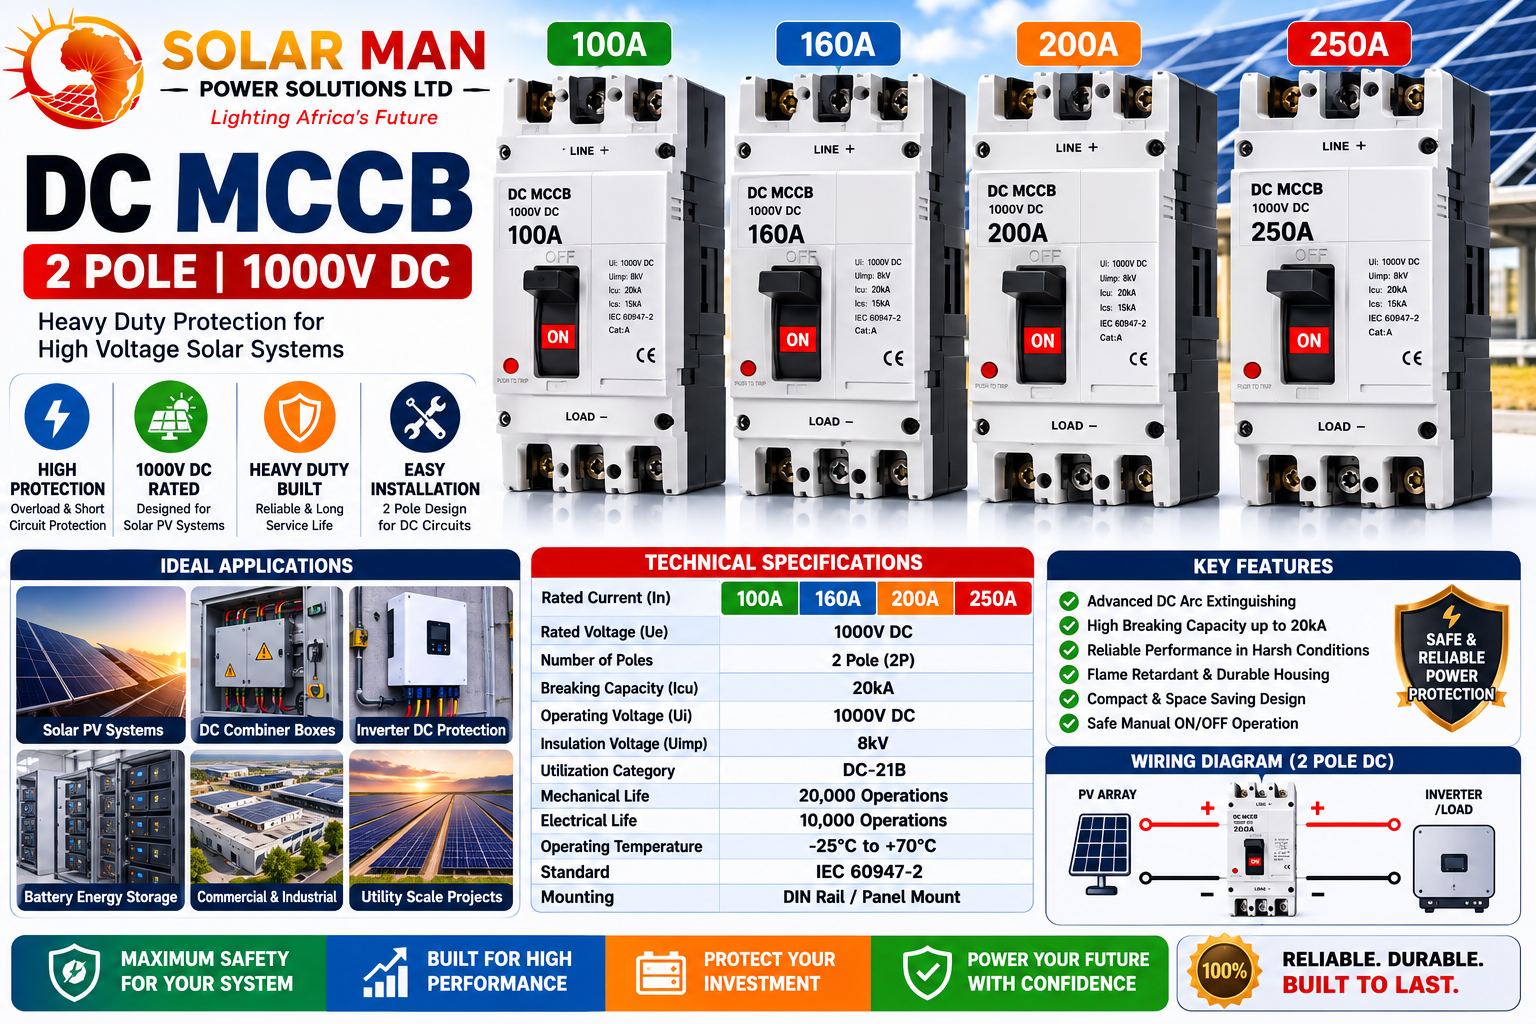
KSh 6,000Original price was: KSh 6,000.KSh 5,220Current price is: KSh 5,220. Add to cart - Sale!Solar Accessories
DC MCCB 2 Pole – 1000V DC (100A / 160A / 200A / 250A)
KSh 10,000Original price was: KSh 10,000.KSh 9,750Current price is: KSh 9,750. Add to cart